辛苦老师检查我的作业。另外。老师,我不知道遮罩层是什么
<!DOCTYPE html>
<html lang="en">
<head>
<meta charset="UTF-8" />
<meta http-equiv="X-UA-Compatible" content="IE=edge" />
<meta name="viewport" content="width=device-width, initial-scale=1.0" />
<title>Carrer Builder-愿你就业梦</title>
<meta name="Keywords" content="职业建构,就业,高薪,专业" />
<meta name="Decription" content="来career builder,获取你的心仪offer" />
<link rel="stylesheet" href="./CSS/css1.css">
</head>
<body>
<!-- 页面头部header -->
<header>
<div class="head2">
<div class="logo">
<img src="images/logo.png" alt="">
</div>
<nav>
<ul>
<li><a href="">HOME</a></li>
<li><a href="">ABOUT</a></li>
<li><a href="">GALLERY</a></li>
<li><a href="">FACULTY</a></li>
<li><a href="">EVENTS</a></li>
<li><a href="">CONTACT</a></li>
</ul>
</nav>
</div>
</header>
<!-- 页面banner -->
<div class="banner">
<div class="banner-picture">
<img src="images/banner3.jpg" alt="">
</div>
<div class="banner-menu">
<form action="">
<p>
<input type="text" placeholder="your Name">
</p>
<p>
<input type="text" placeholder="your Phone">
</p>
<p>
<input type="email" placeholder="your Email">
</p>
<p>
<textarea name="" id="" cols="30" rows="10" placeholder="Write Your Connect Here"></textarea>
</p>
<p>
<input class="last-input" type="submit" value="SEND MESSAGE">
</p>
</form>
</div>
<div class="banner-mask">banner遮罩层</div>
</div>
<!-- 页面主要内容 -->
<main>
<div class="about">
<div class="about-top">
<h2>ABOUT</h2>
<p>Lorem Ipsum is simply dummy text of the printing and typesetting industry. Lorem Ipsum has been the
industry's standard dummy text ever since the 1500s.</p>
</div>
<div class="about-bottom">
<div class="about-bottom-left">
<p>A WORD ABOUT US</p>
<p> Praesent dignissim viverra est, sed bibendum ligula congue non. Sed ac nisl et felis gravida commodo?
Suspendisse eget ullamcorper ipsum. Suspendisse diam amet.</p>
</div>
<div class="about-botto-middle">
<img src="images/bb3.jpg" alt="">
</div>
<div class="about-bottom-right">
</div>
</div>
</div>
<div class="pictures-and-words">
<!-- 图文混排区域 -->
<!-- 1 -->
<div class="part">
<div class="pictures">
<img src="images/b1.jpg" alt="">
</div>
<div class="words">
<p>Lorem Ipsum is simply dummy text of the printing and typesetting industry</p>
</div>
</div>
<!-- 2 -->
<div class="part">
<div class="pictures">
<img src="images/b2.jpg" alt="">
</div>
<div class="words">
<p>Lorem Ipsum is simply dummy text of the printing and typesetting industry</p>
</div>
</div>
<!-- 3 -->
<div class="part">
<div class="pictures">
<img src="images/b3.jpg" alt="">
</div>
<div class="words">
<p>Lorem Ipsum is simply dummy text of the printing and typesetting industry</p>
</div>
</div>
<!-- 4 -->
<div class="part">
<div class="pictures">
<img src="images/b4.jpg" alt="">
</div>
<div class="words">
<p>Lorem Ipsum is simply dummy text of the printing and typesetting industry</p>
</div>
</div>
</div>
<div class="gallery">
<h2>GALLERY</h2>
<div class="gallery-top">
<p>Lorem Ipsum has been the industry's standard dummy text ever since the 1500s, when an unknown printer took a
galley of type and scrambled it to make a type specimen book.</p>
</div>
<div class="gallery-bottom">
<ul>
<li>
<dl>
<dt><img src="images/03-01.jpg" alt=""></dt>
<dd>Science</dd>
</dl>
</li>
<li>
<dl>
<dt>
<img src="images/03-02.jpg" alt="">
</dt>
<dd>Indoor Stadium</dd>
</dl>
</li>
<li>
<dl>
<dt>
<img src="images/03-03.jpg" alt="">
</dt>
<dd>Transportation</dd>
</dl>
</li>
<li>
<dl>
<dt>
<img src="images/03-04.jpg" alt="">
</dt>
<dd>Kids Room</dd>
</dl>
</li>
<li>
<dl>
<dt>
<img src="images/03-05.jpg" alt="">
</dt>
<dd>Meditation Classes</dd>
</dl>
</li>
<li>
<dl>
<dt>
<img src="images/03-05.jpg" alt="">
</dt>
<dd>Kids Play Ground</dd>
</dl>
</li>
</ul>
</div>
</div>
</main>
<!-- 页面页脚 -->
<footer>
<p>©imooc.com 京ICP备13046642号</p>
</footer>
</body>
</html>
CSS
* {
margin: 0;
padding: 0;
}
/* header头部 */
header {
width: 100%;
height: 80px;
background-color: #07cbc9;
}
header .head2 {
width: 1200px;
height: 80px;
/* 这个地方,logo的img和nav有一起的head2,所以让head2 水平居中在header里即可,上下撑满了,所有自动即为水平居中 */
margin: 0 auto;
}
header .head2 .logo {
float: left;
padding: 16px 0;
}
/* img有默认的间隙,会撑大父级的高度,建议将img转换为块元素清除间隙 ,这个我没发现有*/
header .head2 .logo img {
display: block;
}
/* nav和ul的宽度不用设置,由内容撑开 */
header .head2 nav {
float: right;
height: 80px;
}
header .head2 nav ul {
list-style: none;
height: 80px;
}
header .head2 nav ul li {
float: left;
margin-right: 20px;
}
header .head2 nav ul li:last-child {
margin-right: 0;
}
header .head2 nav ul li a {
display: inline-block;
text-decoration: none;
height: 80px;
color: white;
padding: 0 10px;
text-align: center;
line-height: 80px;
}
header .head2 nav ul li a:hover {
background-color: rgba(255, 255, 255, 0.5);
color: white;
}
/* banner */
.banner .banner-picture img {
width: 100%;
position: relative;
}
.banner .banner-menu {
position: absolute;
width: 504px;
height: 320px;
top: 50%;
left: 50%;
margin-top: -160px;
margin-left: -252px;
}
.banner .banner-menu form {
width: 504px;
height: 320px;
}
.banner .banner-menu form p {
margin-bottom: 20px;
}
.banner .banner-menu form p input {
width: 504px;
height: 40px;
background-color: rgba(0, 0, 0, 0.5);
border: 1px solid #808080;
color: #808080;
}
.banner .banner-menu form p textarea {
width: 504px;
height: 110px;
background-color: rgba(0, 0, 0, 0.5);
border: 1px solid #808080;
}
.banner .banner-menu form p input.last-input {
width: 200px;
height: 40px;
background-color: rgba(0, 0, 0, 0.5);
position: absolute;
left: 50%;
margin-left: -100px;
border: 1px solid #808080;
}
正在回答
同学你好,代码中存在以下问题:
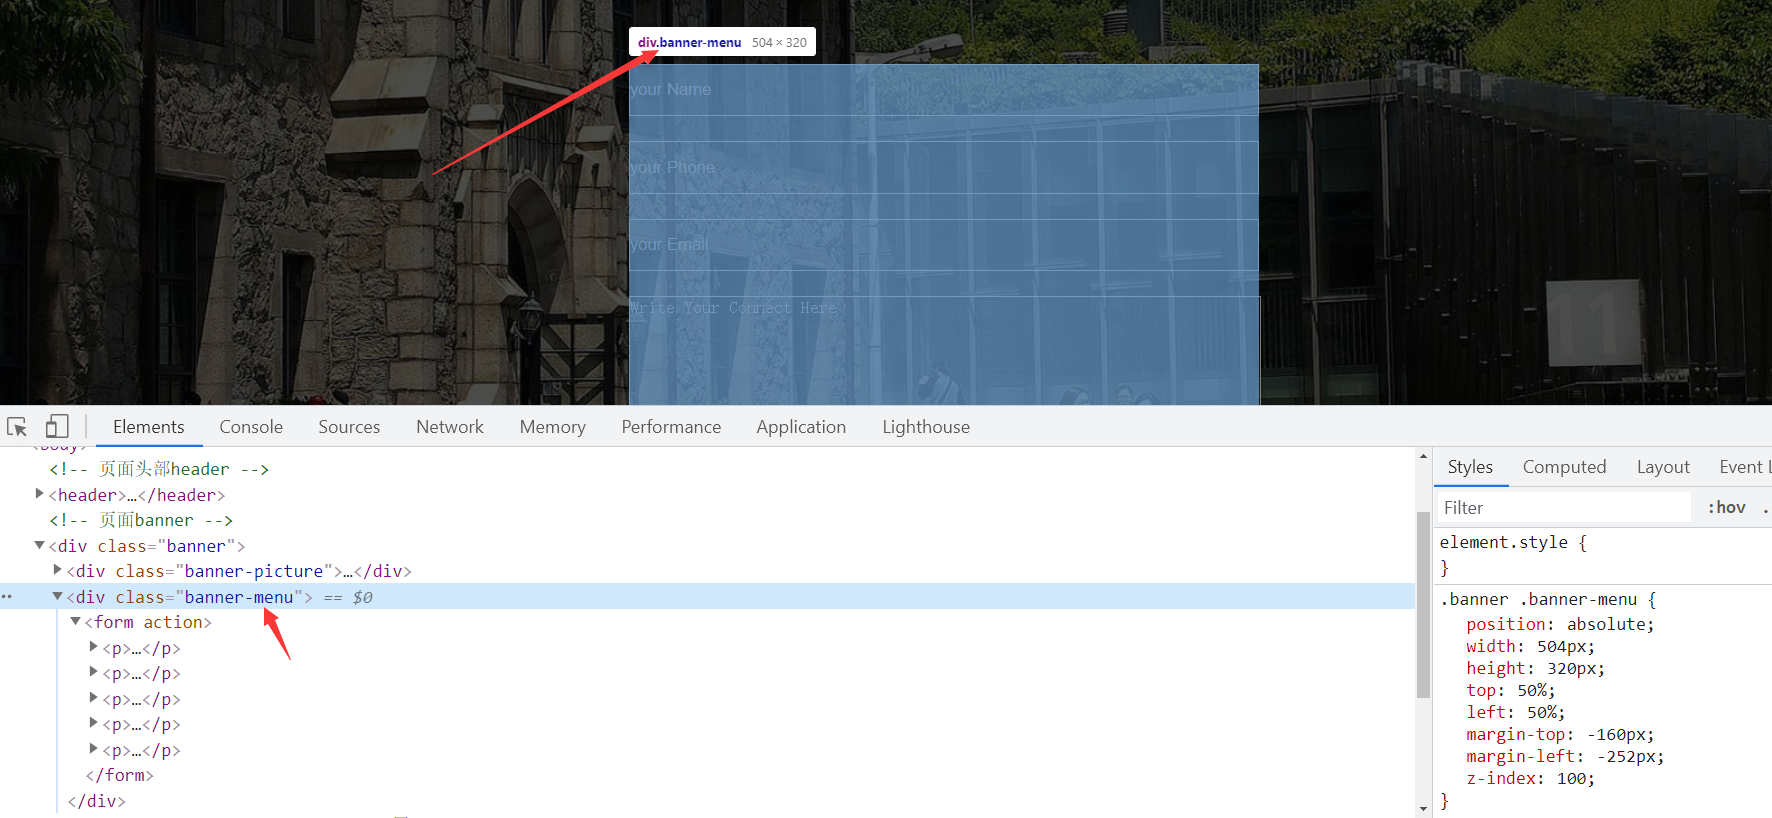
1、优化建议:表单是banner区的,所以最好相对于banner定位:

2、表单内容超出了父元素form:

原因是输入框有边框,该边框会增大输入框的宽度。建议调整输入框的宽度,让其总宽度与父元素form一致:

3、输入框的背景色应该是透明的,不是黑色:

调整如下:


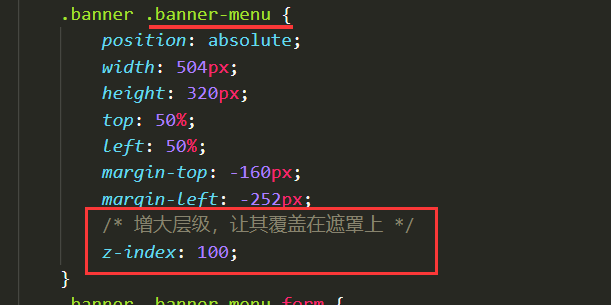
3、遮罩就是图片上覆盖了一个元素,该元素与图片一样大,往往有半透明的背景色(问题解答)。此处遮罩可以使用div实现,颜色是黑色透明的:


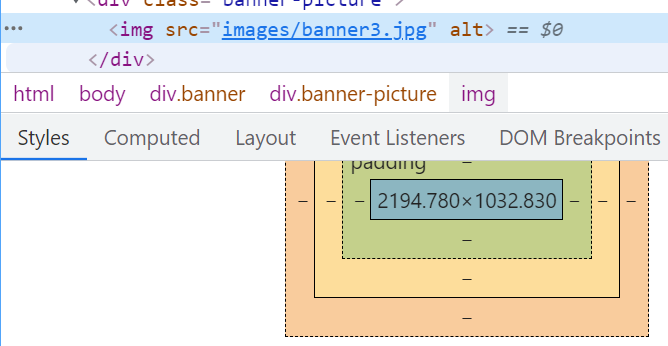
4、由于图片底下有默认间隙,所以页面效果上,遮罩会比图片高一块:

建议将图片转成块级元素:

5、如下问题解答:

如果把上图样式去掉,则会发现头部与banner区中间会有一个缝隙,就是图片间隙造成的:

祝学习愉快!












恭喜解决一个难题,获得1积分~
来为老师/同学的回答评分吧
0 星