解答如下:
1、第一次回复中的代码,是以Login.vue页面举例的:
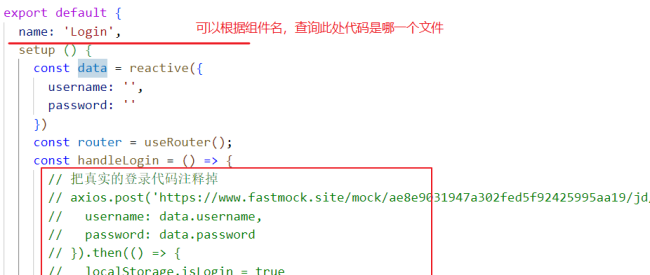
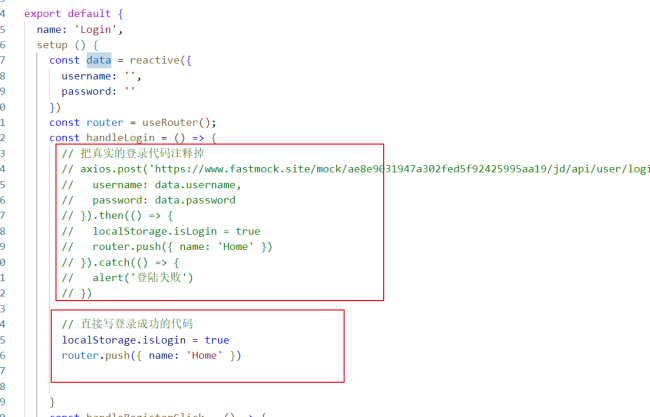
同学的学习顺序有点乱,不确定问的是哪个阶段的代码,所以上图是Login页面最初的代码。
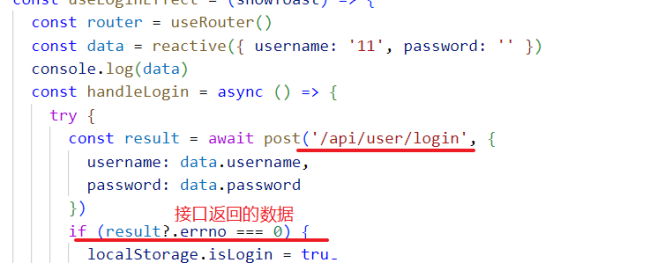
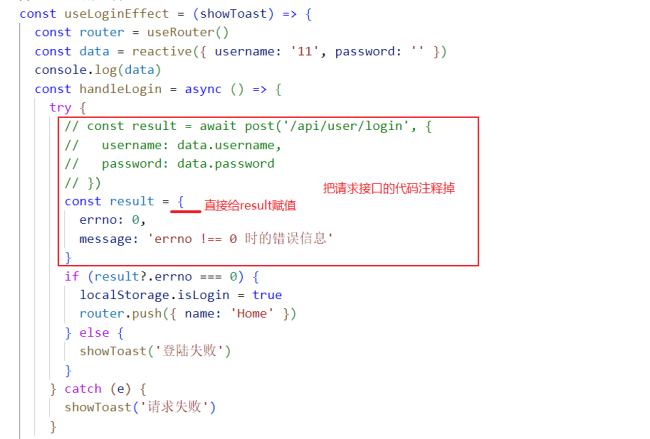
下面的截图,也是Login页面,对应同学当前进度处的代码:
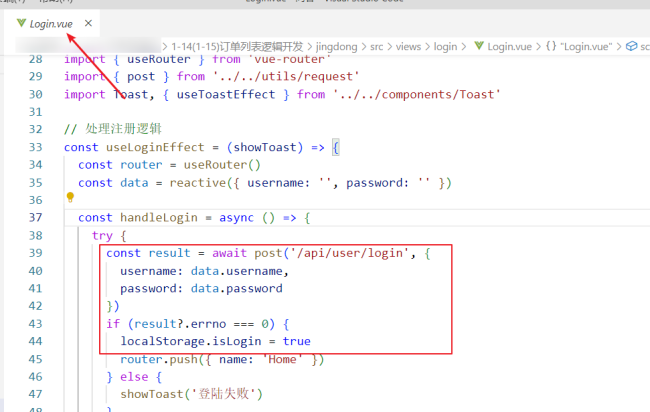
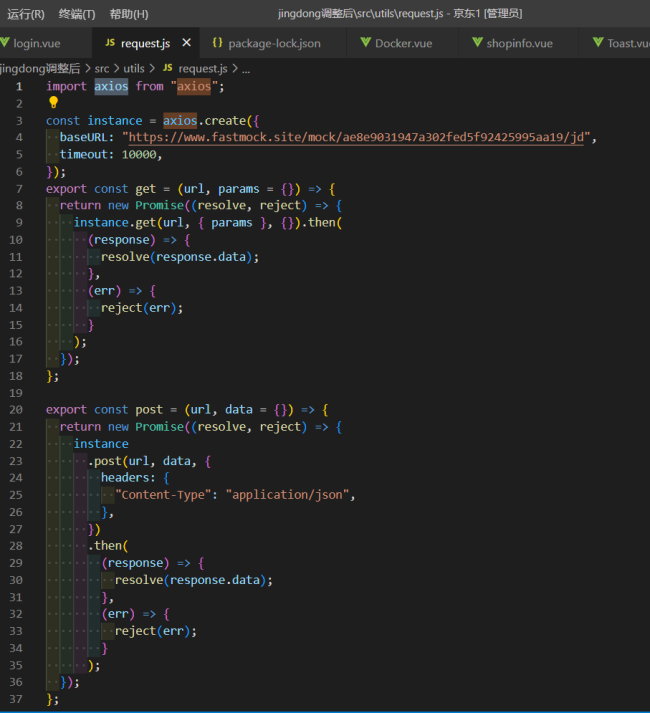
2、上述图中的代码与同学截图的request.js并不是一个文件,所以代码肯定不一样。
3、使用假数据时,不用修改request.js中的代码。需要改动具体请求处的代码,比如login页面有网络请求,就直接使用假数据(请查看第一次回复)。再比如Nearby.vue中也有网络请求,使用假数据形式与Login.vue是一样的:
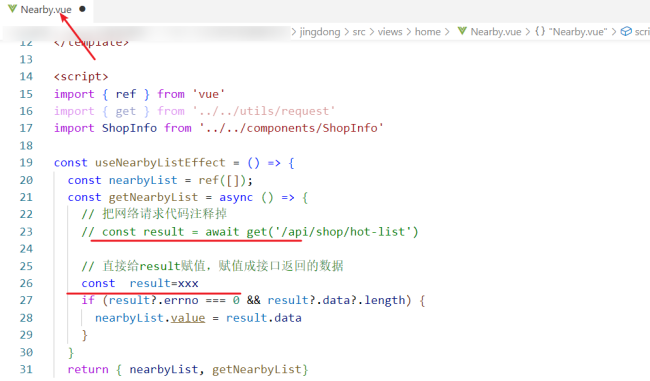
原理都是一样的,要尝试举一反三。
每个接口的数据,在如下链接中:
https://class.imooc.com/lesson/2158#mid=57490
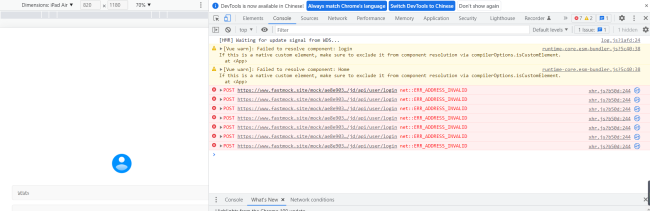

 我接口代码这页和您不一样啊
 老师我的京东项目就写到这里


恭喜解决一个难题,获得1积分~
来为老师/同学的回答评分吧
0 星