4-3 小慕医生项目开发练习
* {
padding: 0;
margin: 0;
}
/* 去掉所有ul和ol 的小圆点 */
ul,
ol {
list-style: none;
}
/* 去掉所有超链接的下划线 */
a {
text-decoration: none;
}
/* 使用继承性给body标签设置字体 */
body {
font: normal 14px/27px '微软雅黑'
}
/* 头部 */
header {}
header .header-top {
width: 1199px;
margin: 0 auto;
/* 清除浮动 */
overflow: hidden;
}
header .header-top .logo {
padding-top: 36px;
width: 192px;
height: 63px;
float: left;
}
header .header-top .logo h1 {
width: 192px;
height: 63px;
}
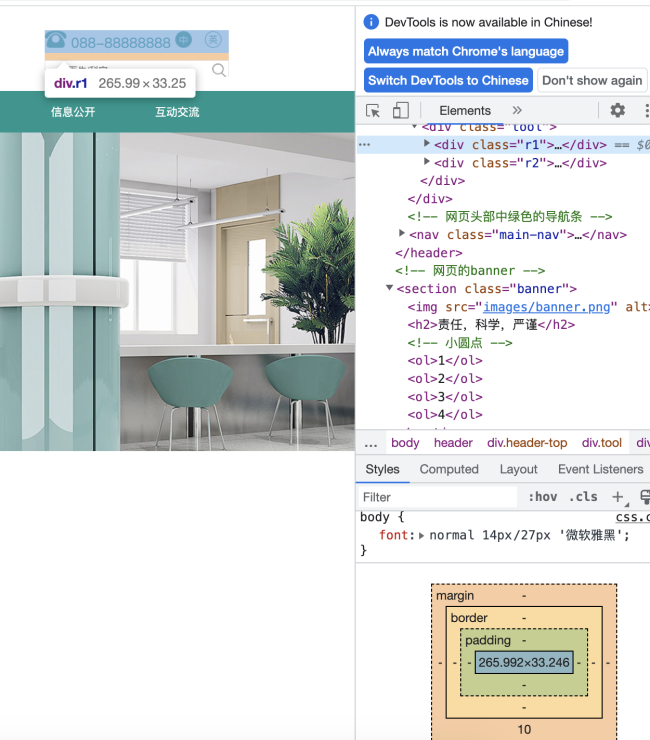
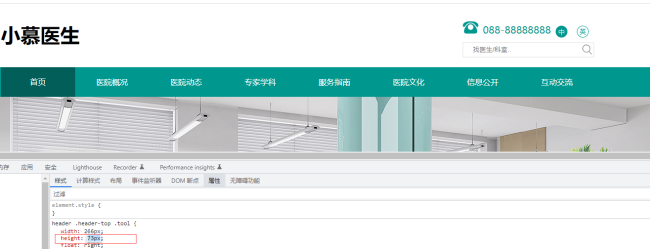
header .header-top .tool {
width: 266px;
height: 67px;
float: right;
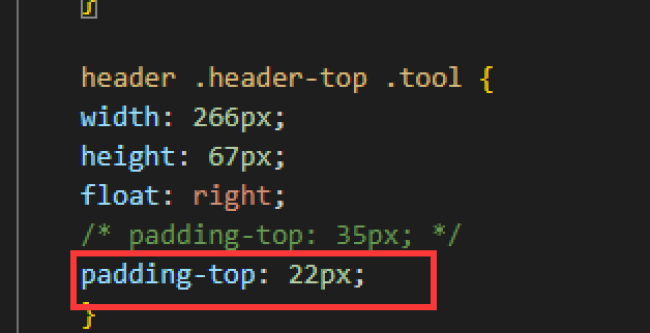
padding-top: 35px;
}
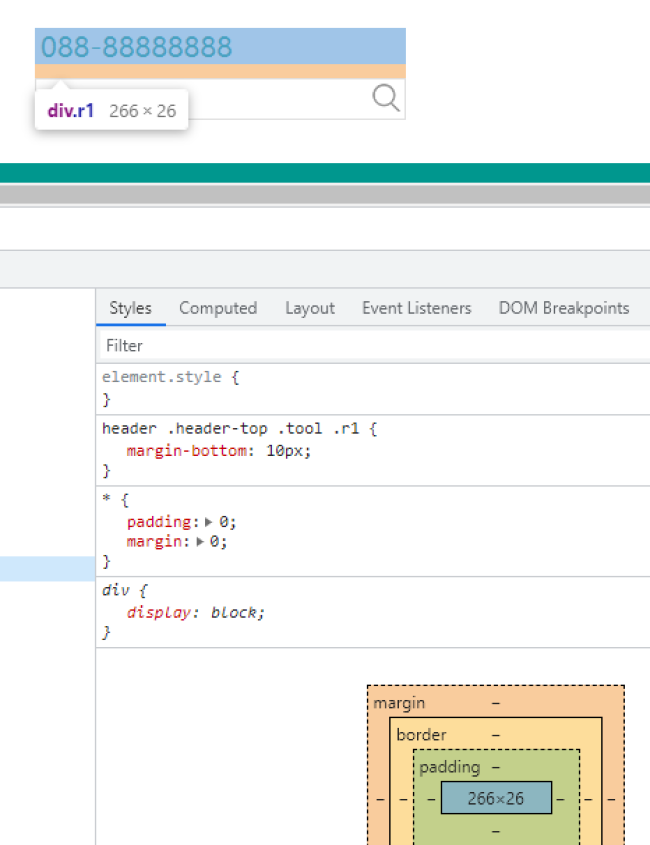
header .header-top .tool .r1 {
margin-bottom: 10px;
}
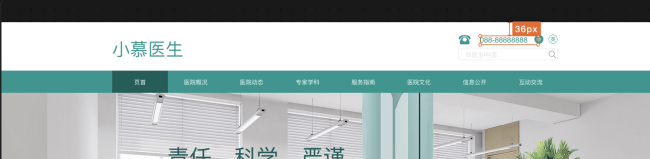
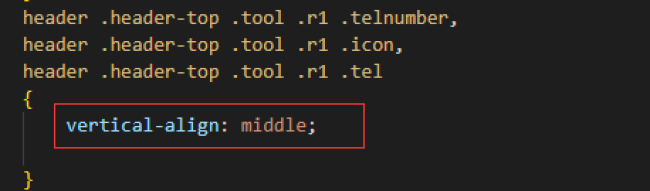
header .header-top .tool .r1 .tel {
width: 32px;
height: 25px;
}
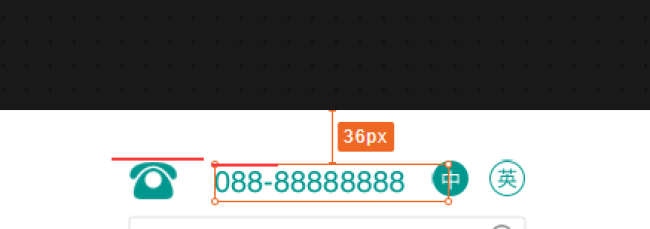
header .header-top .tool .r1 .telnumber {
font-size: 20px;
color: #00978E;
display: inline-block;
width: 146.9px;
height: 26px;
text-align: center;
}
header .header-top .tool .r1 .icon {
width: 24px;
height: 24px;
}
header .header-top .tool .r1 .cn-icon {
margin-right: 14.1px;
}
header .header-top .tool .r2 {
border: 1px solid rgba(202, 202, 202, 0.60);
width: 264px;
height: 28px;
}
header .header-top .tool .r2 input {
float: left;
width: 224px;
height: 28px;
border: none;
padding-left: 20px;
/* 去掉鼠标点击时候的蓝色框 */
outline: none;
}
header .header-top .tool .r2 button {
float: left;
width: 20px;
height: 20px;
/* 去掉按钮背景 */
background: none;
border: none;
outline: none;
/* 设置触碰时的鼠标指针样式 */
cursor: pointer;
position: relative;
top: 3px;
right: 3px;
}
header .main-nav {
height: 60px;
background: #00978E;
margin-top: 20px;
}
header .main-nav ul {
width: 1200px;
height: 60px;
margin: 0 auto;
}
header .main-nav ul li {
float: left;
width: 150px;
height: 60px;
text-align: center;
line-height: 60px;
}
header .main-nav ul li:first-child {
background-color: #015E58;
}
header .main-nav ul li a {
display: block;
width: 150px;
height: 60px;
font-size: 16px;
color: white;
}
header .main-nav ul li a:hover {
background-color: orange;
}老师,请检查,工具栏那里的边框下框线不见了,什么原因?我看了下后台显示r1部分的行高是33px ,但代码中我只设置到了26px,是什么原因?除了我提到的这些,麻烦老师帮忙看下还有其他什么问题
15
收起
正在回答 回答被采纳积分+1
1回答


恭喜解决一个难题,获得1积分~
来为老师/同学的回答评分吧
0 星